Background swap
Move a portrait from a bedroom to a studio, a street, or a seasonal set without changing the face or the pose.
Image editing · Workflow guide
The fastest way to ruin an edit is to ask for everything at once. A reliable AI photo edit reads like a change order: these details are protected, this one layer changes, this is the new scene, and these are the failure cases to avoid.
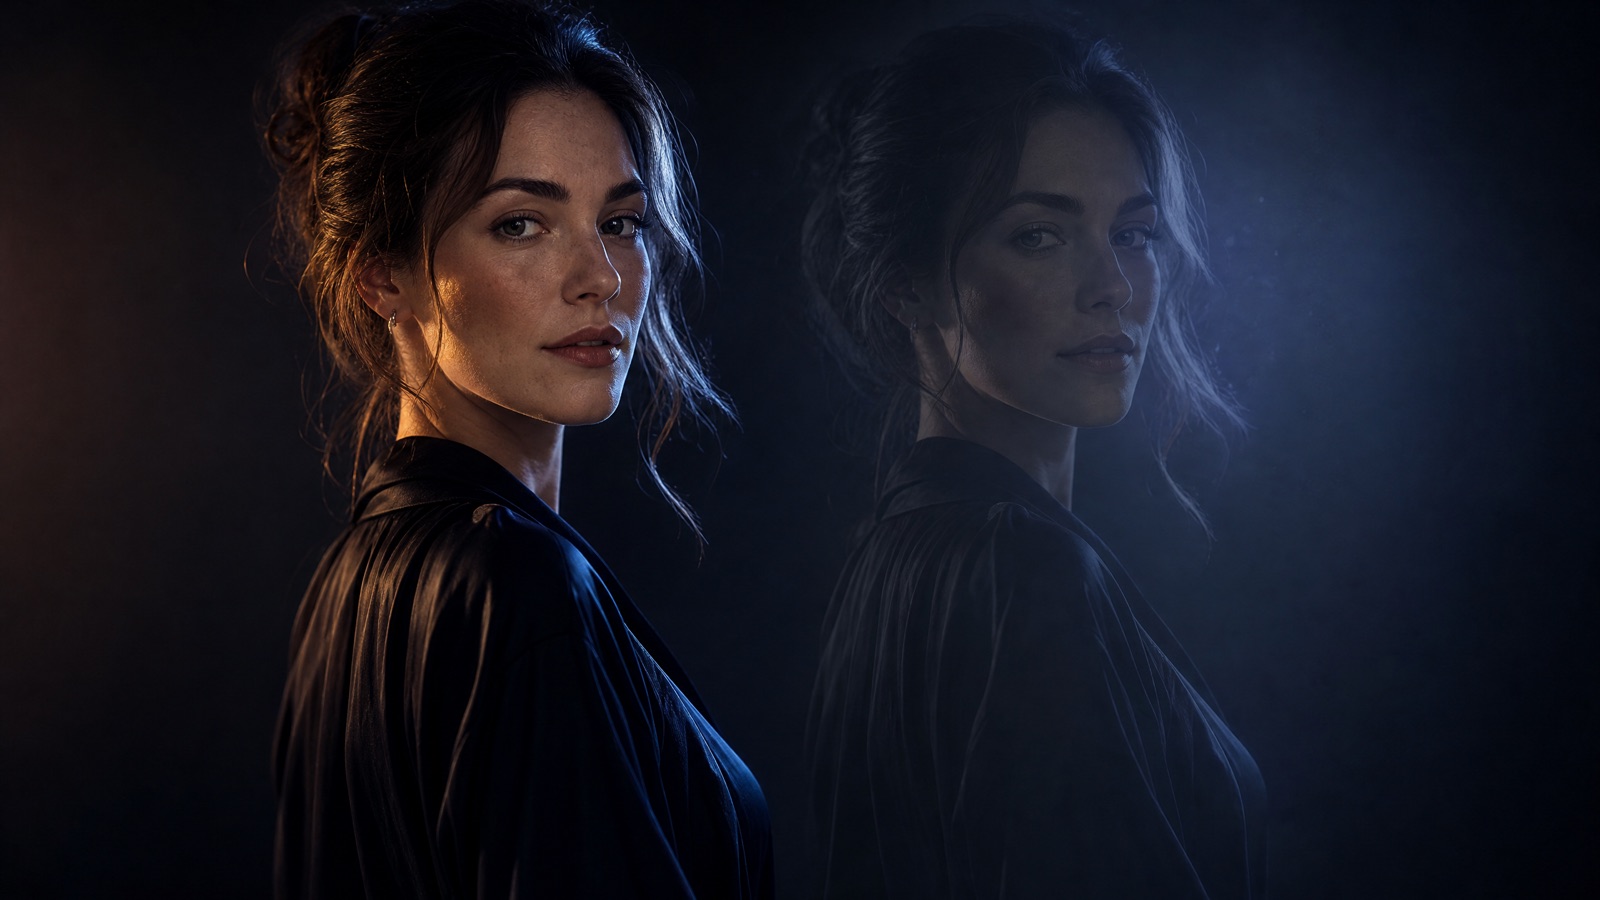
An AI image editor uses a source photo plus a text instruction. List what to preserve first, then what to replace, then the new scene and light. Name the negatives explicitly: no identity change, no extra people, no distorted hands. Change one layer per pass.
One sharp, front-facing photo with even light
The same person, with one layer changed
Nano Banana 2.1, GPT Image 2, Seedream 5.0, FLUX Kontext
Animate the edited still on Flash Omni
Pick a preset, adjust the subject and scene, then copy the prompt. The optional photo preview stays in your browser: this page does not upload it. The generator is a separate site with its own terms and pricing.
Copying the prompt does not create an account or charge credits. The hosted generator opens a separate site with its own terms and pricing.
Move a portrait from a bedroom to a studio, a street, or a seasonal set without changing the face or the pose.
Change wardrobe and accessories while keeping body proportions and skin tone. Useful for concept previews and lookbooks.
Replace flat phone light with window light, golden hour, or a controlled studio key. Keep the catchlights plausible.
Add a Halloween, holiday, or campaign context to an existing photo without rebuilding the person from scratch.
Use a sharp photo with a clear face, visible shoulders, and no extreme shadows. A good source is half the edit.
Name the face, skin tone, age, body proportions, pose, and number of people. The model needs to know what is not allowed to change.
Pick background, outfit, or light for this pass. Stacking three changes makes it impossible to tell which instruction caused the failure.
Check hair edges, glasses, fingers, jewelry, and where the subject meets the new background. Fix one defect per follow-up prompt.
Use this structure as a checklist. Replace the bracketed fields, keep the protection lines, and remove anything that does not apply to your shot.
Use the uploaded photo as the primary reference.
Preserve: [face, skin tone, age, body proportions, pose, number of people].
Edit request: [one layer to change].
Place the subject in: [new scene].
Camera and framing: [shot size, lens, angle].
Light and finish: [key light, texture, realism].
Avoid: altered identity, extra people, extra limbs, duplicated fingers, distorted anatomy, text, logos, watermarks.These notes describe where each model tends to fit. They are not a ranking. Model availability changes by provider: WaveSpeed, SeeAPI, FAL, Replicate, and Kie all serve image and video models in this class. The hosted generator shows the available models and credit cost before you run a job.
| Model | Best fit |
|---|---|
| Nano Banana 2.1 | Reference-heavy edits where the face and identity must survive a wardrobe or scene change. |
| GPT Image 2 | Detailed natural-language instructions and clean studio compositions. |
| Seedream 5.0 | Photoreal skin, fabric, and product textures during an edit. |
| FLUX Kontext | Targeted local edits when only one area of the frame should change. |
This is the safest first edit. Protect the person, change the room, and keep the original crop.
Use the uploaded photo as the primary reference. Preserve the subject's face, hair, skin tone, body proportions, and pose. Replace the background with a deep charcoal studio with a soft gradient and a clean floor line. Keep the same framing and 85mm portrait look. Add soft key light from camera left. Avoid altered identity, extra people, distorted hands, text, and watermarks.Change the garment, not the model. Keep the pose and the original light direction so the result still reads as the same photo.
Use the uploaded photo as the primary reference. Preserve the model's face, hair, skin tone, body proportions, and pose. Replace the outfit with an elegant black tailored jacket and subtle silver earrings. Keep the pale grey studio backdrop. Use soft editorial lighting and realistic fabric texture. Keep the same number of people. Avoid changing the face, adding accessories that were not requested, or distorting the hands.A relight is a lighting edit, not a style filter. Name the key direction and the fill so the face keeps its shape.
Use the uploaded photo as the primary reference. Preserve the person's face, expression, and pose. Relight the portrait with warm low sun from camera left and a cool ambient fill from the right. Add a soft golden rim on the hair. Keep the background simple and slightly out of focus. Do not change the outfit or identity. Avoid plastic skin, clipped highlights, text, and watermarks.A vague instruction gives the model permission to redesign everything. Name the one thing that should change.
When identity and environment change in the same pass, you cannot tell which one broke the likeness.
If you do not explicitly protect age, skin tone, and body proportions, the model may treat them as style choices.
Inspect fingers, frames, earrings, and hair edges at full size before accepting the edit.
It can preserve a recognizable likeness when you use a clear source photo and put preservation instructions first. It is not a biometric identity guarantee; inspect the eyes, teeth, and hairline before publishing.
A sharp, front-facing photo with even light, visible shoulders, and no heavy filters. Avoid sunglasses, extreme angles, and photos where the face is partly hidden.
Yes, but protect the product shape, label, and logo placement explicitly. For packaging, use a reference-first model and check the text after every pass.
No. The optional preview stays in your browser. This page only builds the prompt; the actual edit happens in your image model.
One layer per pass. Background, outfit, and light can be changed in sequence, but each change should be reviewed before the next one.
Yes. Export the edited still, then use the image-to-video workflow to add a slow push-in, a head turn, or atmospheric motion.
Open the hosted generator, paste the prompt, and run one short test. Keep the first generation small; a clean five-second clip is easier to judge than a long one.
Flash Omni is an independent guide and is not affiliated with Google. The hosted generator is a separate product with its own terms and pricing.